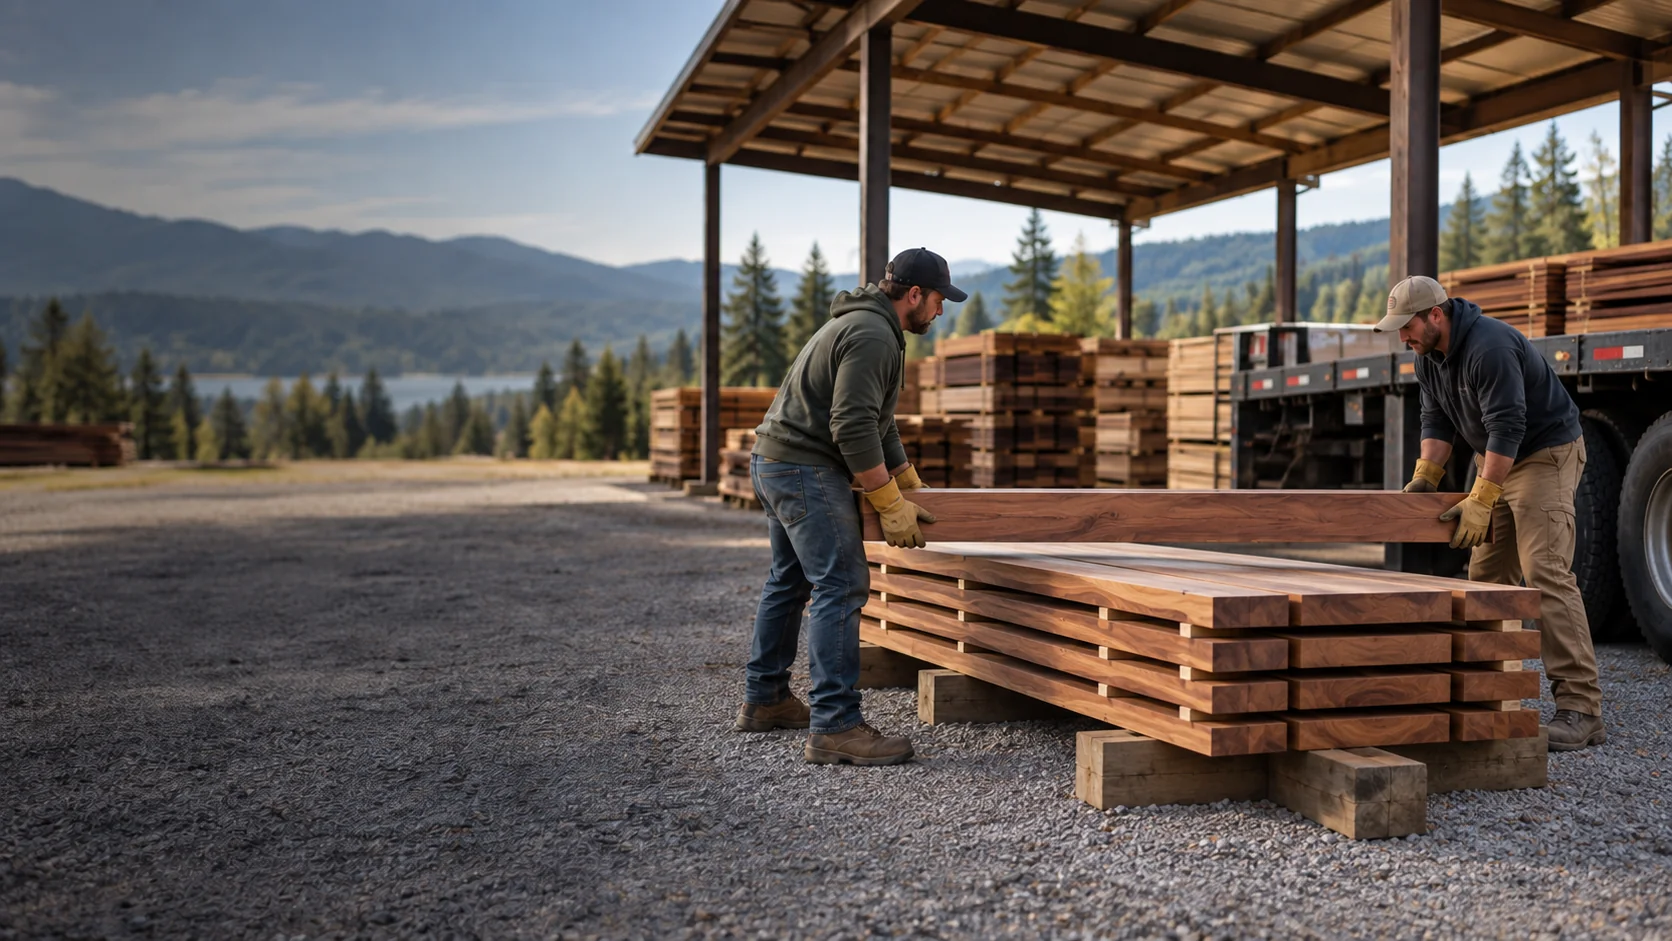
WOOD ACCLIMATION / DAY 0
From Delivery
to Installation.
Build an acclimation plan based on your material, project environment, storage conditions, and field observations.
Build My Plan ↗YOUR MATERIAL / YOUR CONDITIONS
Build your field plan.
Start with what you know. Keep unknowns visible.
Open paths between courses help expose boards to the surrounding air. Sealed packaging and blocked sides can prevent that exchange.
My truck is coming.
Prepare the final acclimation stack before delivery.
0 of 8 preparation items checked.
DELIVERY / TWO POSSIBLE PATHS
Handle once.
Prepare before the truck.
HANDLE TWICE ONE ADDITIONAL TRANSFER
- 01Truck arrives
- 02Temporary pile
- 03Crew returns / move again
- 04Finally sticker stacked
HANDLE ONCE STORAGE PREPARED IN ADVANCE
- 01Stack location prepared
- 02Truck arrives
- 03Boards placed with stickers
- 04Observation record begins
Example assumptions, not measured productivity. Boards × seconds per extra transfer ÷ 60. Excludes travel, equipment, crew size and lifting constraints. No labor saving or safe lifting method is promised.
Prepare your delivery checklist ↗Fix my stack.
Change the arrangement. See the relationship.
Entered lengths and heights document the stack; the illustration does not calculate support capacity, spacing or a safe stack height.
Aligned load paths, separated courses, open sides and ground clearance. This illustrates principles rather than universal dimensions.
SEE THE DIFFERENCE
Change the setup.
Change the exposure.
Closed bundles restrict exposure of interior boards. Follow supplier instructions when removing packaging. Diagrams show relationships, not dimensional specifications.
Know what changes.
Origin and destination conditions can pull moisture in different directions.
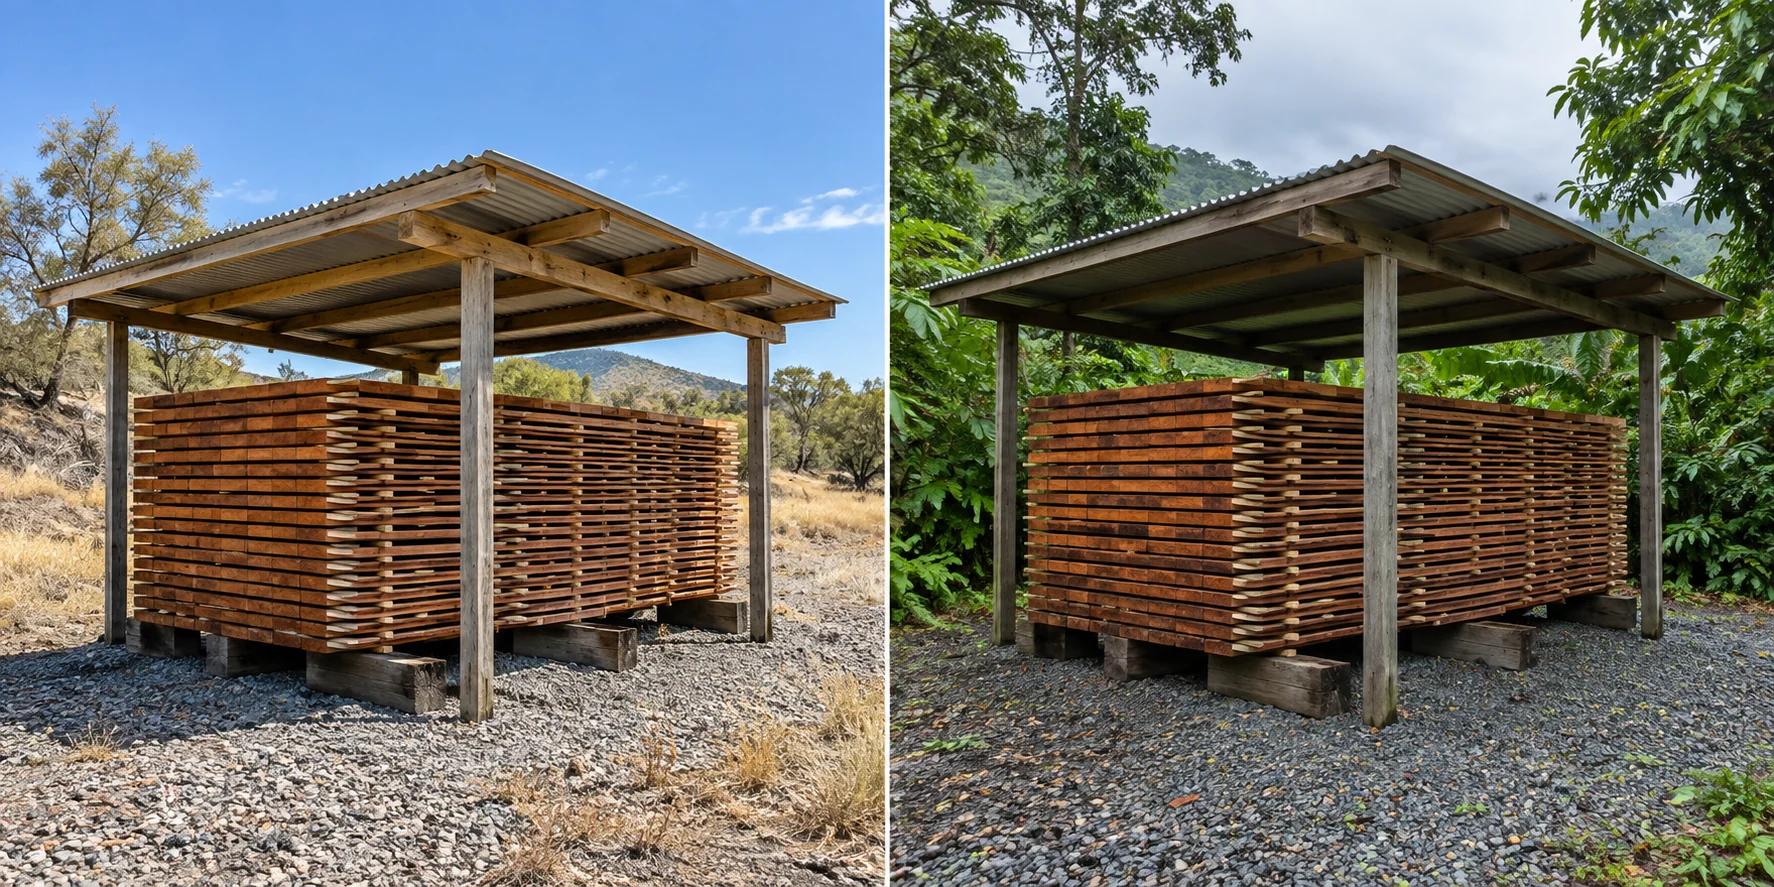
EXPOSURE A
Drier air.
- Moisture loss may occur
- Monitor uneven surface change
- Review direct solar exposure
EXPOSURE B
More humid air.
- Moisture gain may occur
- Separate wetting from ambient RH
- Keep drainage and air paths open
Environmental examples. Direction depends on the wood’s current condition and surrounding temperature and humidity. No rate or duration is implied.
Enter valid humidity observations to compare the environments.
Local context
Locate your ZIP above for available near-term weather context. Manual observations work without a lookup.
Measure. Don’t guess.
Track the same boards, positions and method over time.
OBSERVATION STATUS
Not enough information
Add observations to see a trend. No sample readings are mixed into your plan.
0 dates · 0 positions matched across the latest three dates.
How the status is calculated
Trend stabilizing requires at least three identified positions with readings on each of the latest three dates, with every matched change within the tolerance you choose. These are transparent tool rules, not a validated universal sampling or acceptance standard. Uneven intervals, unrepresentative sampling or meter error can still mislead.
Site conditions, material condition, installation method and professional judgment still matter. No status certifies readiness.
| Date | Board / position | MC% | Note | Action |
|---|
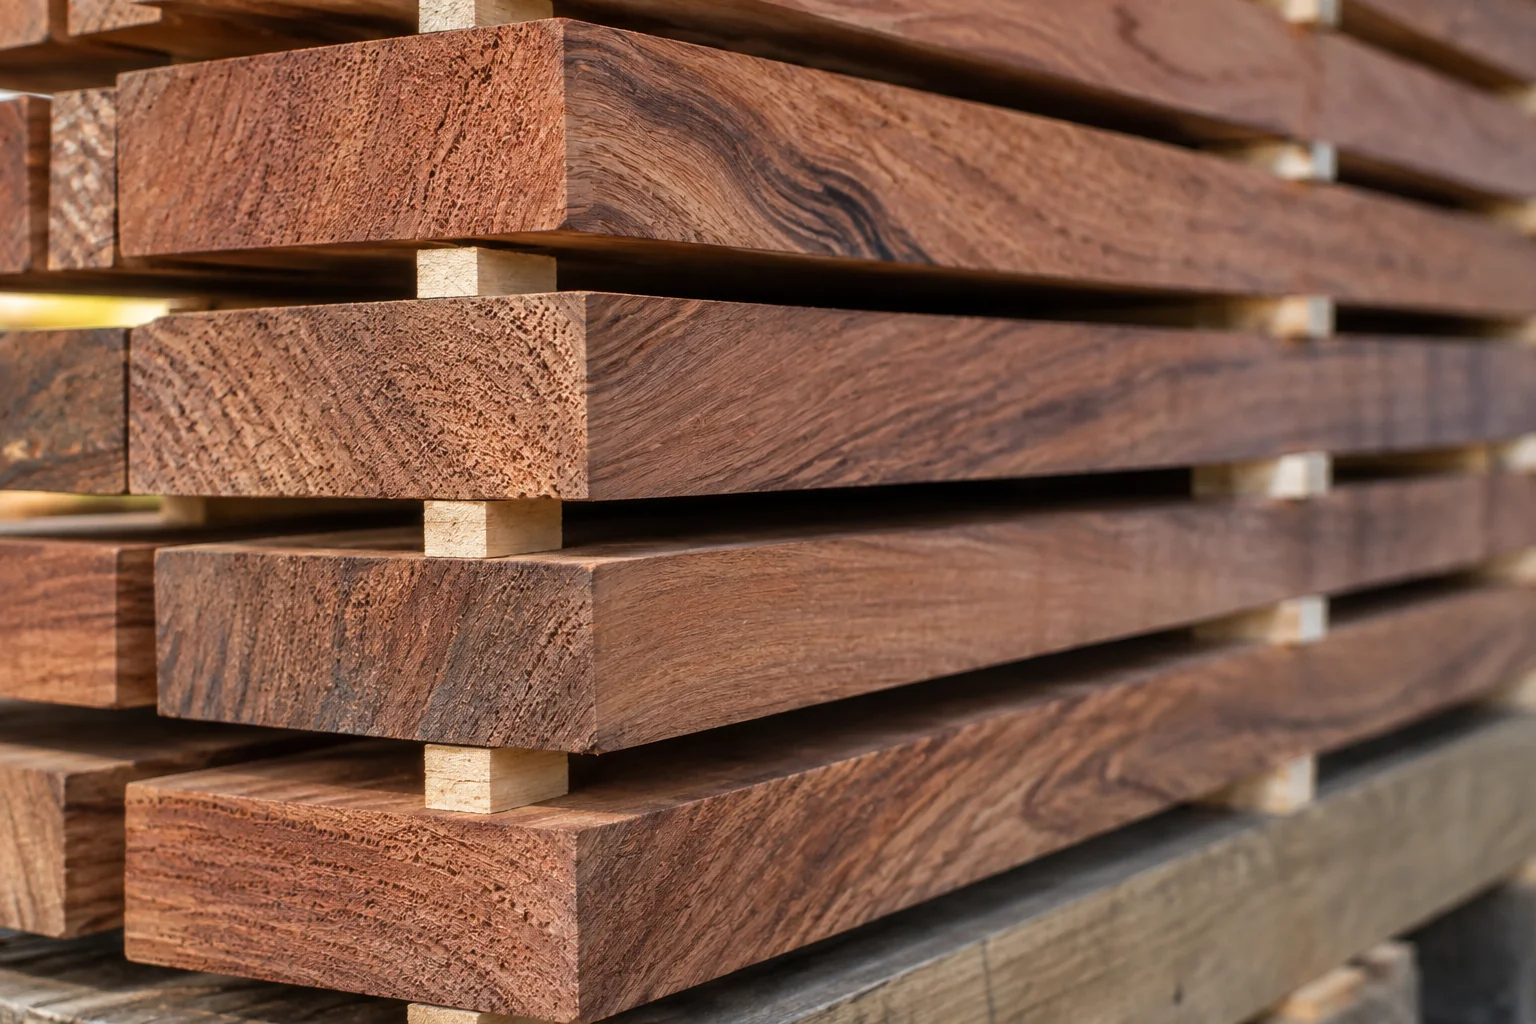
MATERIAL / AT CLOSE RANGE
Air needs a path.
Stickers separate the courses so air can reach more than the outer boards. A gap is useful only when the surrounding path stays open.
LOOK BELOW THE SURFACE
What happens
inside the board?
Follow the moisture gradient, inspect measurement locations, and distinguish drying history from present condition.
THE FIELD GUIDE
One question. A useful next step.
Keep a field record.
Return with observations, not a countdown.
- To reviewDelivery
- To reviewStacked
- To reviewInitial readings
- To reviewMonitoring
- To reviewTrend stabilizing
- To reviewInstallation review
Milestones follow your observations. Elapsed days do not automatically advance the record.
Up to six photos, 8 MB each. Photos are resized locally, with metadata removed. They stay in this tab and your downloaded PDF; they are not uploaded or saved with private projects.